
Algorithm activity: Program the Teacher
Program the Teacher: algorithms and debugging in practice
“But, teacher, that wasn’t what you were supposed to do!” That sentence can be the start of a good discovery. In this algorithm and debugging activity, students write commands to guide a marker through a grid while the teacher carries out exactly what is on the paper. Even the command that leads straight into an obstacle…
The challenge is to notice where the sequence stopped working, fix the program and test again. All without a computer.
The activity at a glance
- Concepts: algorithms, sequences and debugging.
- Recommended for: Suggested grades 2–6.
- Time: approximately 20 minutes.
- Grouping: whole class, with each student writing their own commands.
- Materials: board, chalk or whiteboard marker, paper and pencil. To show the position on the grid, use a magnet or draw a dot that can be erased and repositioned.
What will students discover?
An algorithm is an organized sequence of instructions for completing a task. In this activity, the task is to move from one square on a grid to the destination while respecting the obstacles.
Meanwhile, debugging is the process of identifying and correcting errors. When a command takes the marker into a blocked square, we have an opportunity to investigate: which instruction caused the problem? What do we need to change?
The teacher carries out the commands. The class plans, watches the result and revises its own instructions.
How to run Program the Teacher
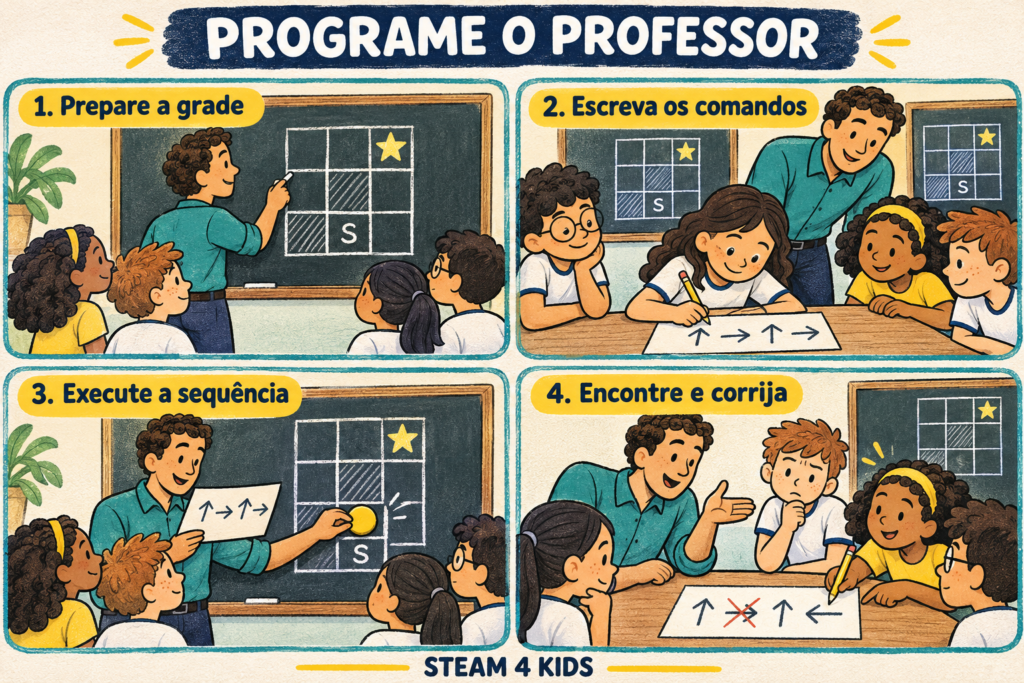
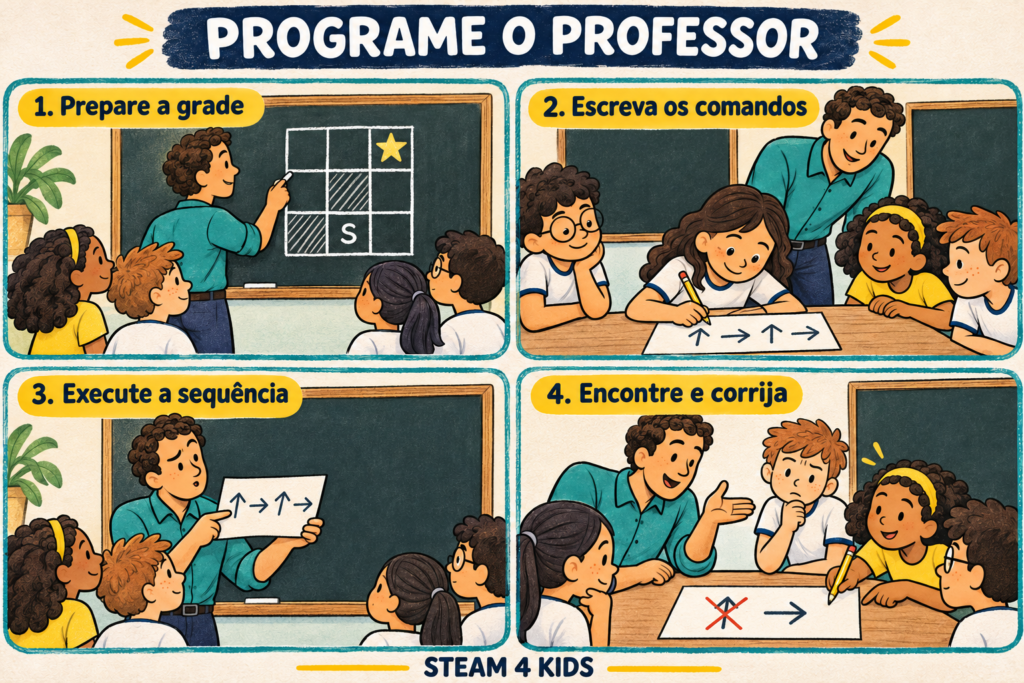
1. Prepare the grid and agree on the rules
Draw a grid on the board. Mark the start, the destination and two obstacles, leaving at least one possible path between the start and the target.
Before starting, establish a simple rule: each arrow moves the marker one square in the direction shown.
- ↑ One square up.
- ↓ One square down.
- → One square to the right.
- ← One square to the left.
The directions refer to the board, regardless of where the teacher is standing. Moving diagonally, crossing obstacles or leaving the grid is not allowed.
2. Ask each student to write their program
Allow a few minutes for everyone to look at the route and record a sequence of arrows on paper.
Ask them to count the commands too. As well as planning the path, students will have a record to compare with other solutions.
At this point, avoid correcting the sequences in advance. Testing is part of the activity.
3. Carry out a sequence literally
Choose a program and read the commands one at a time, moving the marker.
Do not fill in missing instructions or change a direction because you have realized what the student meant to do. This difference between intention and instruction is exactly what the class needs to notice.
If a command leads into an obstacle or outside the grid, stop before making the invalid move. Record which command caused the interruption and keep the marker in the last valid position.
4. Investigate the error and test the correction
Go through the sequence with the class:
“How far did the program work? Which was the first command we need to revise?”
Ask for a suggested correction and record the change. Then return the marker to the start and run the complete program again. Correcting one instruction does not guarantee that all the following ones are right — that is why we need to test again.
An example to try
Make a grid with three rows and three columns, counting the rows from top to bottom and the columns from left to right.
Place the elements as follows:
| Element | Position |
|---|---|
| Start | Row 3, column 2 |
| Destination | Row 1, column 3 |
| Obstacle 1 | Row 2, column 2 |
| Obstacle 2 | Row 3, column 1 |
Suppose a student wrote:
↑ → ↑ →
On the very first command, the marker would try to enter the central obstacle. Stop the execution and ask which direction is available from the start.
One valid solution is:
→ ↑ ↑
The marker moves one square to the right and two up, reaching the destination in three commands.
Notice that changing only the first arrow in the original sequence does not necessarily fix the whole program. You need to check the rest and remove or change commands that no longer make sense.
How to guide the discussion without giving away the answer
Instead of announcing the correct route, ask questions that help students follow the execution:
- Which square is the marker on now?
- Where does this arrow tell it to go?
- Is that square free?
- Do we need to change, add or remove a command?
- After the change, does the program still reach the destination?
Treat mistakes as part of the investigation. Focus on the written sequence and what it produces.
Questions for the closing discussion
How can we avoid wrong commands before running the program?
Encourage concrete answers: for example, tracing the path with a finger, checking one arrow at a time, checking obstacles and asking a classmate to simulate the sequence.
Then return to another question: when we find an error, how do we work out exactly what needs to change?
Variation: two paths, how many steps?
Compare two valid solutions for the same grid and count the commands in each.
In the example above, both of these sequences reach the destination:
- → ↑ ↑: three commands.
- → ↑ ↓ ↑ ↑: five commands.
The second works, but includes a move out and back. Ask the class which commands could be removed without preventing arrival.
For grades 2 and 3, start with just a few commands and read the arrows together. For grades 4–6, enlarge the grid and ask students to justify their corrections and compare routes.
By the end, the class will have planned, run, observed and revised a program. A simple experience showing that coding also involves explaining clearly, testing ideas and learning from the result.
Access more activities
Explore more content and complete resources in one place:
- Shop: Shop
- Free activities: Free activities
- Find this and more than 80 activities together in one place: 80+ collected activities
- Learn more about algorithms for children: Algorithm Project
Leave a Reply