
Maker Workshops
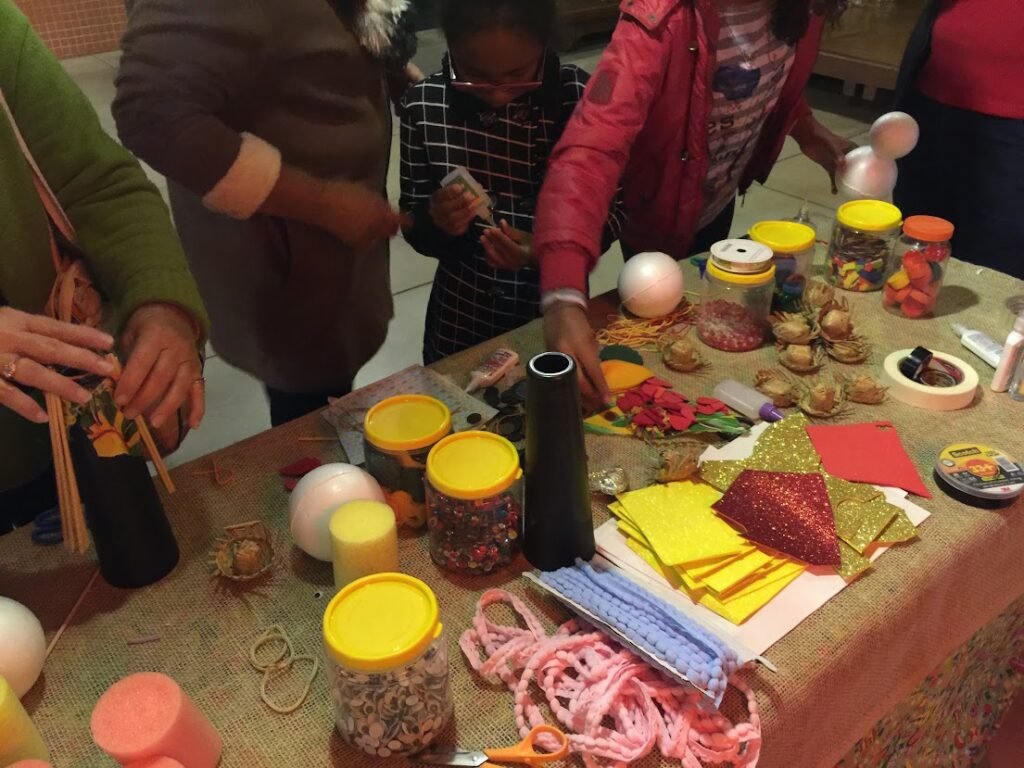
Setting up a maker workshop does not require expensive equipment or a perfect space. With accessible materials and clean recycled items, children and adults can experiment, invent and turn ideas into objects. What matters most is offering variety, freedom to test and a safe environment.
1. Choose and prepare the space
Choose a table or an easy-to-clean area with good lighting and room to move around. Cover the surface with used paper or a washable cloth. Organize materials in boxes or trays, keeping small items under adult supervision. Before starting, explain how to use scissors, glue and other tools safely.
2. Gather simple and recycled materials
Gather a varied supply: pool noodles cut into rings or pieces, colorful pipe cleaners, sequins, foam balls, washed and dried milk cartons, bottle caps, cardboard tubes, paper, string, craft sticks and clean packaging. Include glue, adhesive tape, blunt-tip scissors, colored pencils and markers. Avoid sharp, dirty or age-inappropriate small pieces.
3. Invite creativity
Present the materials without requiring a model to be copied. Offer an open-ended challenge, such as building an imaginary machine, a vehicle or a fantastic creature. Ask, “What would you like to make?” and “How could this part move?” These questions help turn curiosity into a project.
4. Test, adapt and share
Allow time to build, take apart and try again. If a structure will not stand up, invite participants to reinforce it with cardboard or tape. At the end, everyone can show their creation and explain what they discovered. Not everything needs to work perfectly: learning from attempts is part of the experience.
5. Save materials for the next workshop
Separate what can be reused, dispose of unusable items correctly and organize materials by type. That way, the next maker workshop begins with new possibilities — and creativity ready to get to work.